

JYLED LED Video Wall Panels
The best way to create a solid business presence, that can be ingrained in people’s minds, is through advertising.
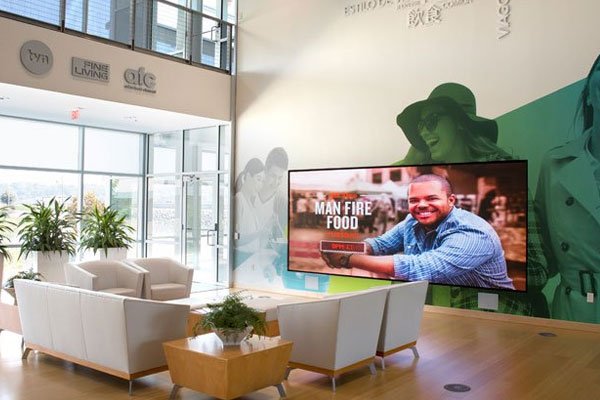
LED video wall panels can become the best tool for your advertising strategy, as they can make an impressive element inside your store. The LED video wall panels are a great inversion for advertising, promotional and decorative purposes.

LED Video Wall Panels Are Suitable For Multiple Scenarios
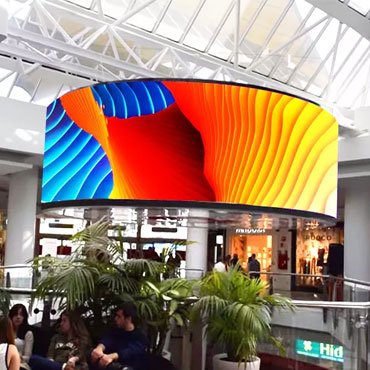
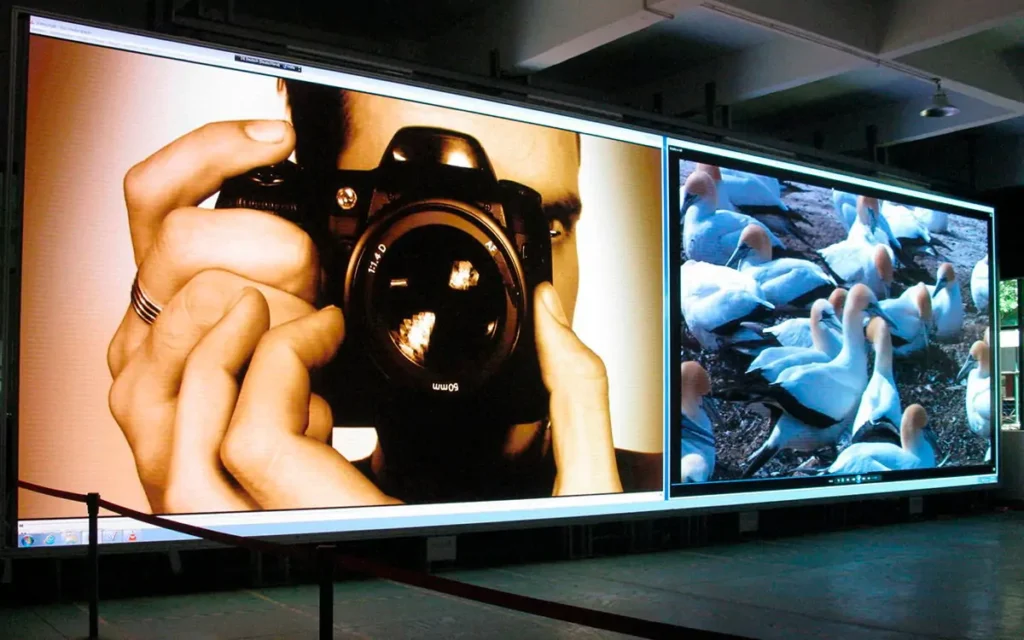
LED video wall panels have a wide range of applications. For example, in the commercial field, LED video wall panels can be used to display advertisements, promote products, and attract customers’ attention.
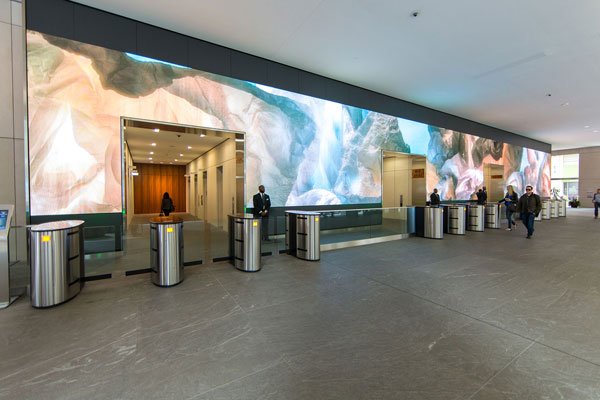
In addition, LED video wall panels are also widely used in large conferences, exhibitions, museums and other occasions to provide high-definition, realistic pictures and videos.
LED Video Wall Panels Advantages
With the continuous innovation and development of LED technology, the display effect of LED video wall panels is further improved, with smaller pixel pitch and higher resolution.
In addition, advances in LED technology have also made LED video wall panel spliced displays more energy-saving and environmentally friendly, in line with future “carbon neutral” development requirements.
At the same time, through the connection of the Internet of Things, the LED video wall will also become more intelligent and can be remotely controlled and managed through the Internet, thus improving the convenience and efficiency of use.
LED Video Wall Panels Advantages (3)
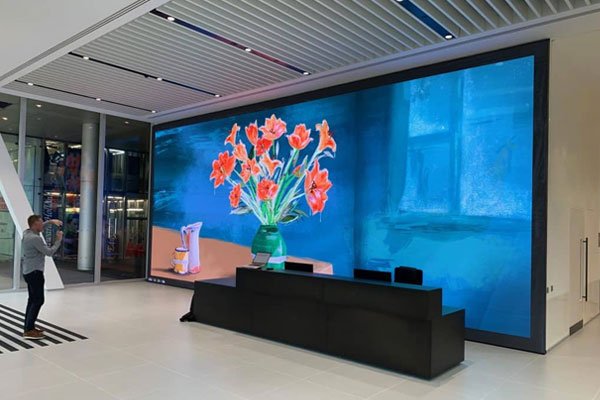
The display screen made of LED video wall panels can achieve full-color, full-spectrum display, showing a rich variety of colors.

LED video wall panels can be integrated with a variety of different devices to achieve multiple controls on one screen and centralized control on multiple screens.

The LED video wall panel uses high-quality LED lamp beads with a service life of up to 100,000 hours and can be used for about 8-10 years.
The Advantages Of LED Video Wall Panel


- Project Cases
- Parameter
- Product Document

| Recommended Models | |||
| Model | P1.86 | P2 | P2.5 |
| Module size(mm) | 320×160 | 320×160 | 320×160 |
| Module resolution (dot) | 172×86 | 160×80 | 128×64 |
| Scanning | 1/43S | 1/40S | 1/32S |
| SMD | 1G1R1B | ||
| Maintenance | Front | ||
| Installation | Front/Back | ||
| Cabinet size(mm) | 640*480 | ||
| Density(dot/㎡) | 288369 | 250000 | 160000 |
| Brightness(cd/㎡) | 800-1200 | ||
| Max. Power Consumption(W) | 600 | ||
| Average Power Consumption(W) | 200 | ||
| Cabinet weight (kg) | 9KG | ||
| Cabinet material | Die-casting aluminum | ||
| IP rate | IP 31 | ||
| Grayscale | 10000:1 | ||
| Refresh rate(hz) | 1920-3840 | ||
| Frame change frequency | 50/60hz | ||
| Horizontal viewing angle | >140° | ||
| Vertical viewing angle | >140° | ||
| Best viewing distance | >1.8m | >2m | >2.5m |
| Input Voltage | AC110V – AC220V | ||
| Module Max. current | 3.5-4.5 | 3.5-4.5 | 3.5-4.5 |
| Temperature-operating | ﹣10℃~60℃ | ||
| Humidity-operating | 10%~90% | ||
| Life span (H) | ≥100,000 | ||
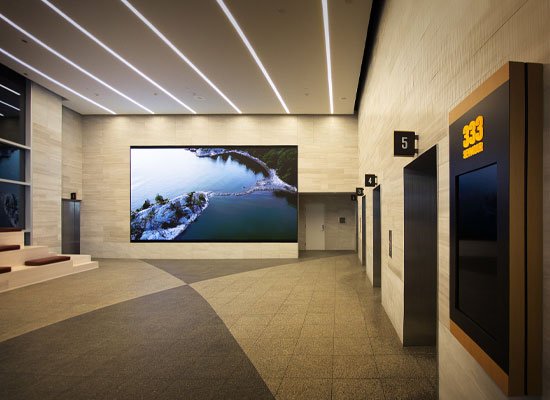
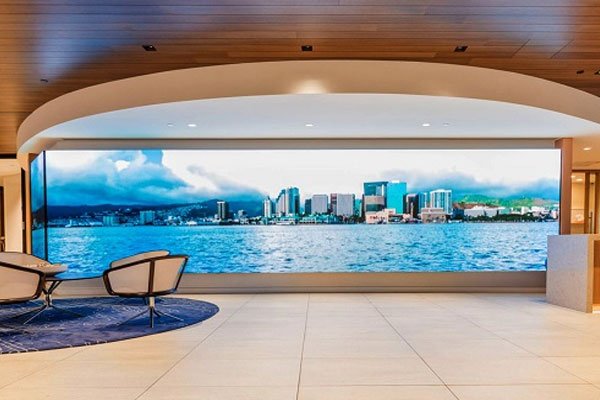
Introduction Of LED Video Wall Panels In The Indoor Hotel
The LED video wall panels has features high brightness, low grayscale, and accurate color reproduction, ensuring a high-fidelity picture display. The screen is designed with an embedded integrated style, perfectly matching the original decoration style of the hotel banquet hall.
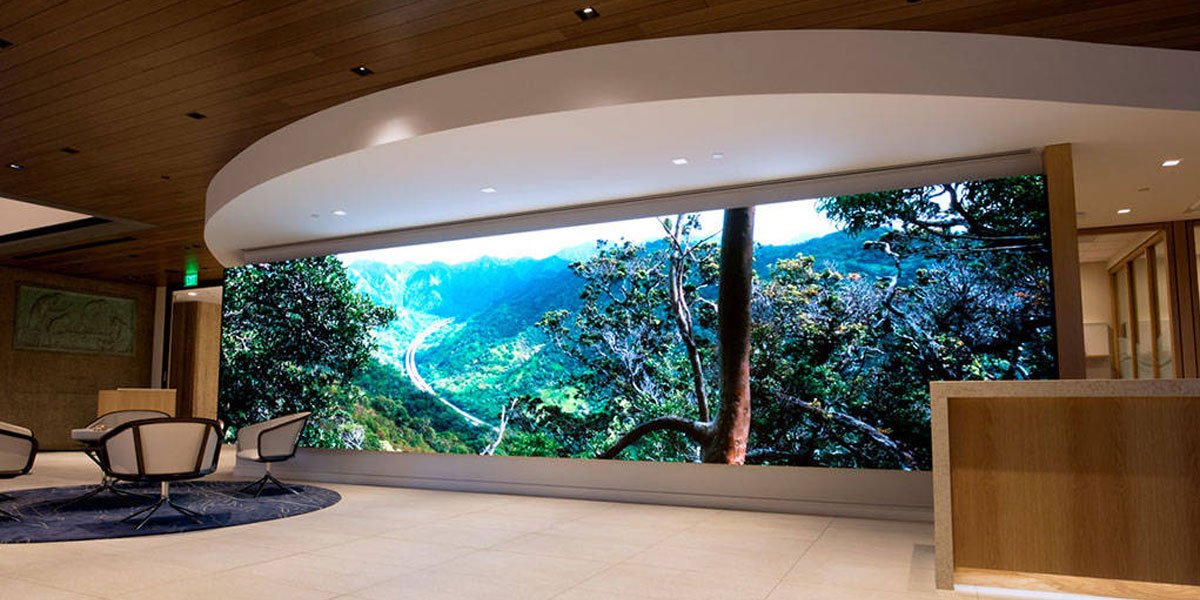
It showcases the LED people’s serious work attitude in a flawless, three-dimensional display. The hotel team has unanimously recognized and highly praised it. We will continue to work harder to produce more high-quality LED video wall panels to support our friends from all walks of life.
The LED video wall panels has a 160° wide viewing angle and a large horizontal and vertical viewing angle, making it suitable for environments with wide horizontal distribution and large height differences. Each luminous tube is consistent with the display height, providing seamless and multi-directional viewing without shadows.
The LED video wall panels is made of surface-mounted 1515 black light with a gold wire and copper bracket, ensuring a viewing angle of over 160°, while the basic surface of the mask is lower than the light-emitting surface of the lamp tube, maximizing multi-directional viewing consistency.
Non-linear correction technology for indoor HD display, with fine and clear image effects, vivid and diverse animation effects, and smooth and realistic video effects;
There are many assembling methods for the indoor fixed led display screen. Customers can DIY the unit board into the whole screen at will, or it can be matched with a 480*480 die-cast aluminum cabinet for the whole screen.
The unique treatment of a strong antistatic indoor LED display is also an important technology that display has always been stable to other display displays. Adopting modular design technology, the reliability and stability are higher.
Installation Method Of LED Video Wall Panels
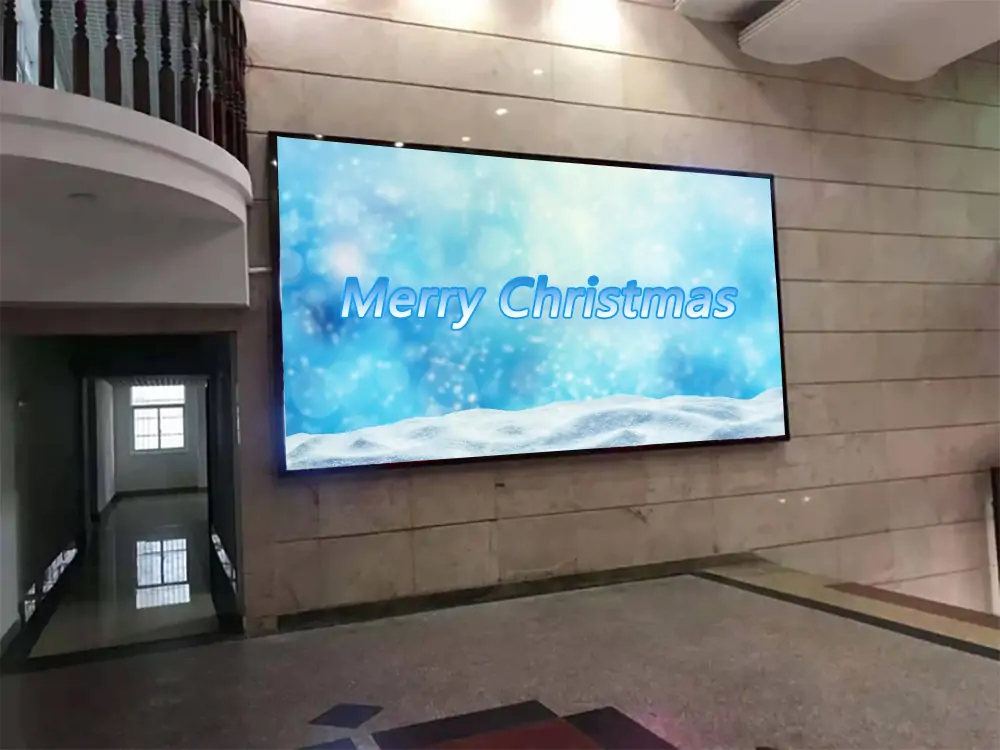
LED video wall panels are generally installed on the wall. This installation method is generally installed by magnetic suction. What is magnetic installation is that the back of the led display module adopts a fixed magnetic column to be adsorbed on the steel wall structure. In order to achieve a fixed effect, the LED sky curtain sometimes uses this fixing method.
The Advantages Of LED Video Wall Panels Fixed Installation Method:
- Magnetic front maintenance, led electronic display is front maintenance, easy to maintain, and the whole screen is thin and beautiful.
- There is no need to make a cabinet, which saves the cost of the led display.
The panel of the LED video wall is expressed by “P”. The smaller the panel, the smaller the dot pitch, and the clearer the picture.
At the same time, LED video walls with smaller pixel pitches will be used indoors, while LED video walls with larger pixel pitches will be used outdoors.
What “P” is used for indoor display? If used indoors, the brightness should not be too high. High brightness can easily cause visual fatigue and eye damage.
LED screens have one thing in common: the smaller the dot pitch, the lower the relative brightness. This is because the dot pitch increases and the more IC-controlled lamp beads cause the brightness to decrease. Therefore, the LED display used indoors, the more the dot pitch Smaller, the better the look and feel.
However, the price of an LED display directly linked to the dot pitch. The smaller the dot pitch, the clearer the picture, the less grainy, and the higher the price.
So when choosing an indoor LED display, don’t blindly pursue ultra-small spacing, just suitable for environmental use.

Next, we will explain how to install LED video wall panels in several steps.
Step 1: Build the Peripheral Steel Structure
First draw the place where the steel structure needs to be built according to the indoor scene, and then fix the steel structure on the wall according to the position of the drawing. When fixing, the two vertical bars need to be kept parallel and separated by a module distance, and the error cannot be less than 1mm.
Step 2: Calculate the number of power supplies, receiving cards and other accessories
We need to install the power supply and receiving card reasonably to achieve good display effects. Suppose we use P4 LED modules to install an LED video wall panel that is 5.376 meters long and 3.584 meters high. The following is the calculation process.
- It is known that the size of the P4 LED module is 0.256*0.128 meters, so the length requires 21 modules (5.376/0.256), and the height requires 28 modules (3.584/0.128).
- Generally we will add 1 to the calculated number of modules, that is, 22 modules are needed for long and 29 modules for high.
- One power supply can carry 8 LED modules, so 22*29/7≈80 power supplies
- The receiving card can hold 7 modules if it is tall, and 6 if it is long, so 6*7=42 receiving cards.
- Only one sending card is needed
At this point, we have calculated that 5.376*3.584≈19.27㎡. The screen needs about 638 P4 LED modules, 80 power supplies, 42 receiving cards, 1 sending card, spare parts (power supply, receiving card, modules) Equipped according to 3%-5%.
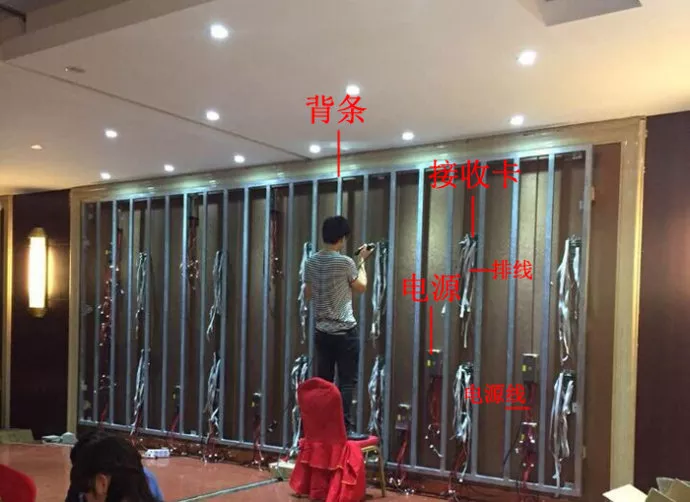
Step 3: Install the backplane, receiving card, and power supply
Install the backplane first, and then connect the above number of receiving cards and power supplies in order. As shown below:
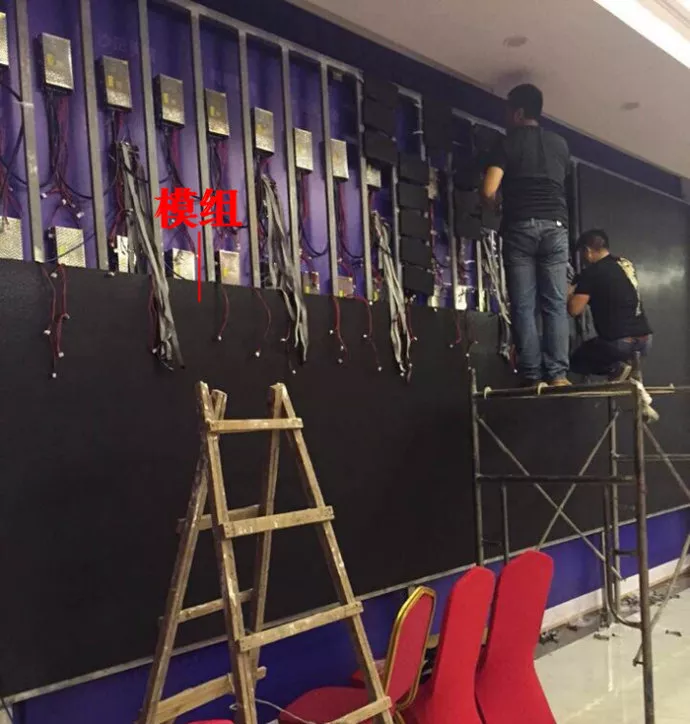
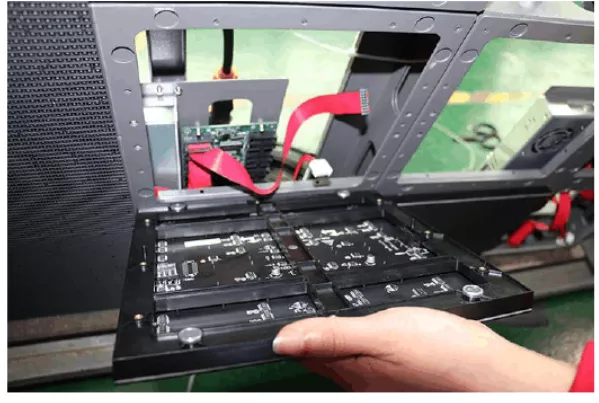
Step 4: Put the magnetic LED module into
After plugging in the power cord and ribbon cable, the magnetic LED module is placed into the fixed back strip in order. Because the back bar is an electroplated iron bar, it will not rust. Moreover, the magnetic LED module uses permanent magnets, which can be tightly attached to the iron bar and will not fall off.
Step 5: Light up the screen after installation is complete
After all LED modules are installed, import the program into the debugging software, then light up the screen and observe the display effect of the screen.